After reading that it’s so easy to make apple cider vinegar at home, I had to try it. 😀 And homemade vinegar made with apple peels and cores is perfect for the Historical Food Fortnightly challenge 14 – Waste not, want not.
1903 Apple Vinegar
‘Save all parings and cores of apples when used for cooking purposes; put them in a jar; cover with cold water; add about a pint molasses to 3 or 4 gallons; tie mosquito netting over jar; add more apple parings as you have them, and all the cold tea left in teapot. Makes the very best vinegar.’
1902 Economical Vinegar
‘Save the sound cores and the parings of apples used in cooking. Put into a jar, cover with cold water, stand in a warm place, add one-half pint of molasses to every two gallons. Cover the jar with gauze; add more parings and cores occasionally. This will make good vinegar.’
1907 Apple Vinegar
‘When cooking apples, save the parings and cores, if sound; put them into a large crock, adding enough salt water to keep them covered. When the crock is nearly full, add 1 cup brown sugar or molasses, and 1 cup of yeast to every 6 or 8 qts of water. Stir well, keep the crock where it is warm and cover it with a piece of cheesecloth to keep out insects. It will make good vinegar in about two weeks. Strain and put into glass vessels, for if kept in the glazed crock, the acid will attack the glazing and extract the lead.’
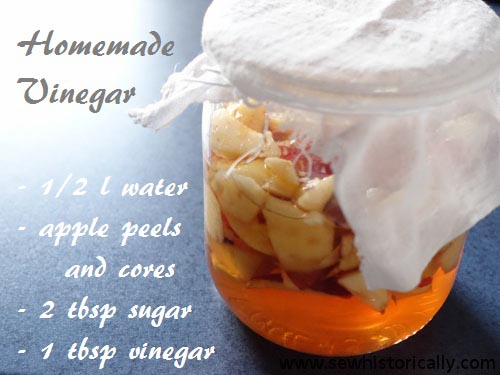
I adapted the recipe slightly. Here’s what I used for my homemade apple vinegar:
Ingredients:
- 1/2 l water
- apple peels and cores from 2 or 3 apples
- 2 tbsp brown sugar
- 1 tbsp organic apple cider vinegar
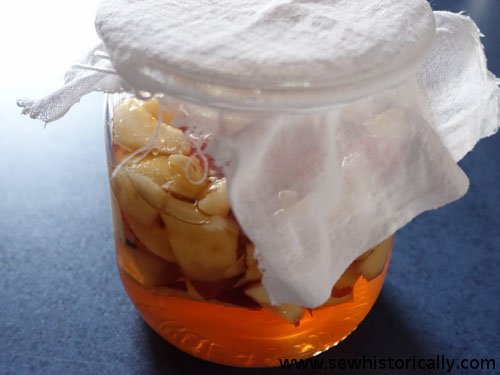
Put all ingredients into a large glass jar and cover with a piece of muslin. Keep the vinegar in a dark place at room temperature and stir it every day. Most of the antique recipes don’t say when the vinegar is ready; except the 1907 apple vinegar recipe according to which the vinegar is ready after two weeks. So I’ll be updating the post in some weeks when I know more. 😉
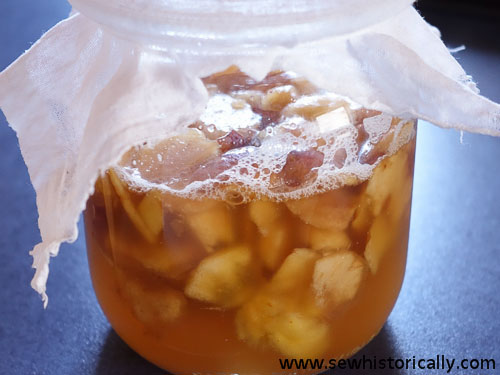
Update: After about two days the vinegar becomes bubbly – the fermentation starts. And the solution becomes cloudy. It can now be used to leaven homemade bread.
After about one week the bubbling and fizzing stops and the vinegar smells and tastes of alcohol.
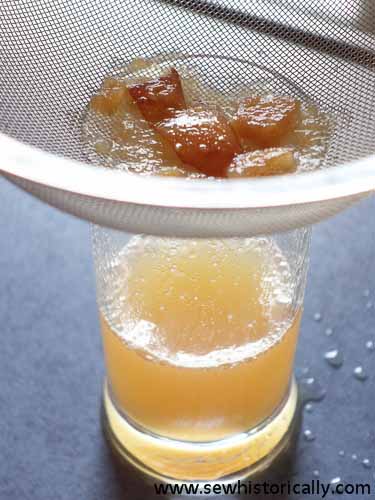
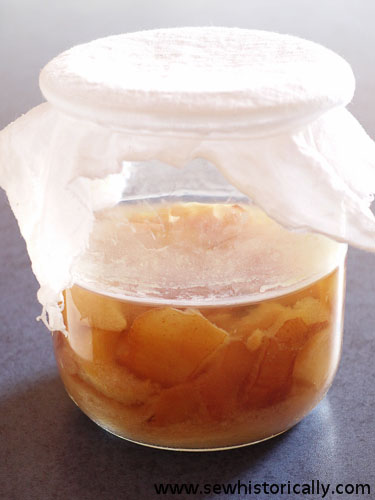
Update: After two or three weeks there’s a strong smell and taste of vinegar. Now the vinegar is ready for use. Pour the vinegar through a sieve or muslin to remove the mother of vinegar.
If you want to store the vinegar more than a few month at room temperature, it might be necessary to pasteurize the vinegar. You can also store homemade vinegar in the fridge. Homemade vinegar is stronger than store-bought vinegar, so it might be necessary to dilute it with water before use.
Wow this is fantastic! I never thought about making ACV, thank you very much.
Thanks for stopping by, Sandra! 🙂 I love how easy it is to make vinegar at home just with scraps! And instead of apples one could also make vinegar with other fruits, such as strawberries, raspberries etc.
This is so interesting. I really enjoyed it! Thanks for sharing with SYC.
hugs,
Jann
Thanks, Jann! 🙂
Thanks for sharing at the What’s for Dinner party! Pinned this to try later!
very interesting! how do you use it to make bread?
Thank you! Here’s the recipe: Bread Recipe With Wild Yeast (With Honey Water Or Fruit Yeast). Scroll down to the second recipe with fruit yeast.