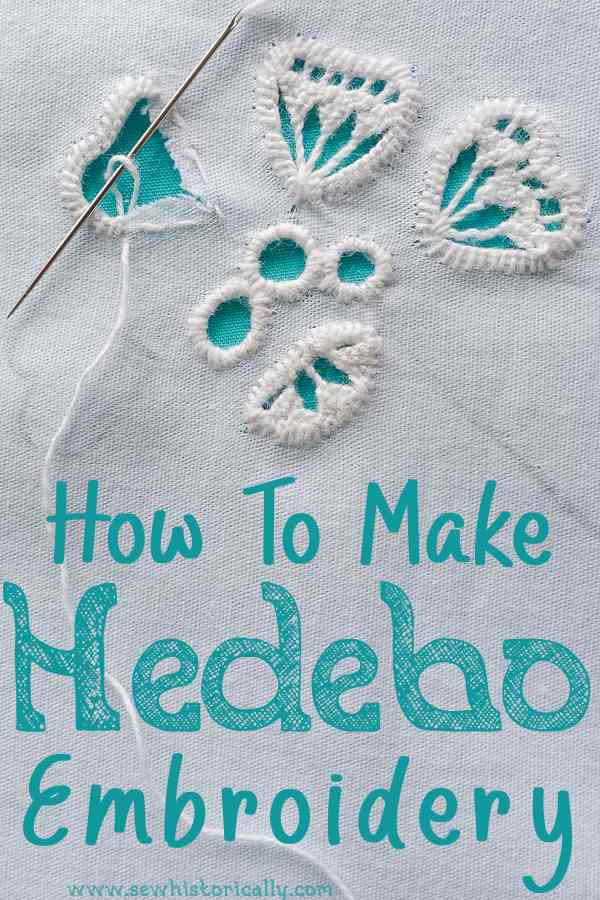
Hedebo embroidery is a historical open work or whitework embroidery which originated in Denmark in the mid-18th century. Hedebo embroidery (hedebo means heathland) can be rather geometric or very floral or a combination of both. There are two basic embroidery stitches used in hedebo lace: buttonhole and overhand stitch.
2 Basic Stitches Of Hedebo Embroidery
The two basic embroidery stitches of hedebo lace are a special kind of buttonhole stitch and overhand stitches.
Related: Overhand, Overcast, Hem & Whip Stitch – What’s The Difference
The buttonhole stitch of hedebo lace is worked differently than the ordinary buttonhole stitch and is typical of hedebo lace.
Worked From Left To Right
Hedebo embroidery is always worked from left to right: You work the hedebo buttonhole stitch from left to right. Then if the embroidery pattern requires you to start from the left again, you sew overhand stitches from right to left into the top of the buttonhole stitches until you reach the starting point. Then you begin the next row of buttonhole stitches from left to right again.
No Embroidery Hoop Required
Hedebo embroidery is made without an embroidery hoop. If the fabric is firm enough, you can embroider it right away. But if the fabric is very thin, you traditionally baste the fabric to a piece of paper or oilcloth before you start the embroidery.
What Type Of Embroidery Thread?
Traditionally, you use linen thread for hedebo embroidery. But I’m currently making an Edwardian mixed lace blouse (you can follow along on my instagram account) and I want to use the same embroidery thread for all types of hand embroidery. So I used non-mercerized cotton thread instead of linen thread for my hedebo embroidery.
Edwardian-Style Hedebo Embroidery
Because the way embroidery is done changes over time and I’m making an Edwardian blouse, my hedebo embroidery is mainly based on “The Priscilla Hedebo And Cutwork Book” from 1916. Here‘s a link to the pdf of the hedebo embroidery book.
Related: DIY Edwardian Crochet Lace Yoke
How To Make Hedebo Embroidery
Basic Hedebo Embroidery
1. Outline the motifs with running stitches.
2. Clip the fabric crosswise. And turn the raw edges back like in broderie anglaise embroidery.
3. Work hedebo buttonhole stitches over the running stitch outline.
4. If the pattern requires it, topsew back to the starting point: work overhand stitches into the top of the buttonhole stitches.
Related: How To Make Limerick Lace By Hand
Hedebo Beading Loops
1. To make beading loops in hedebo embroidery, work larger buttonhole stitches skipping 2 or 3 of the previous buttonhole stitches.
2. Then topsew back to the starting point with overhand stitches.
Hedebo Points
1. You can also make hedebo points using the two basic hedebo stitches: Begin by working 3 buttonhole stiches. Then topsew back to the starting point.
2. Work 2 buttonhole stitches and topsew back.
3. Now make 1 buttonhole stitch. And optional: secure the hedebo point to a point of the motif.
Please Pin It!


Great tutorial . thks
Thank you! Glad you like it!