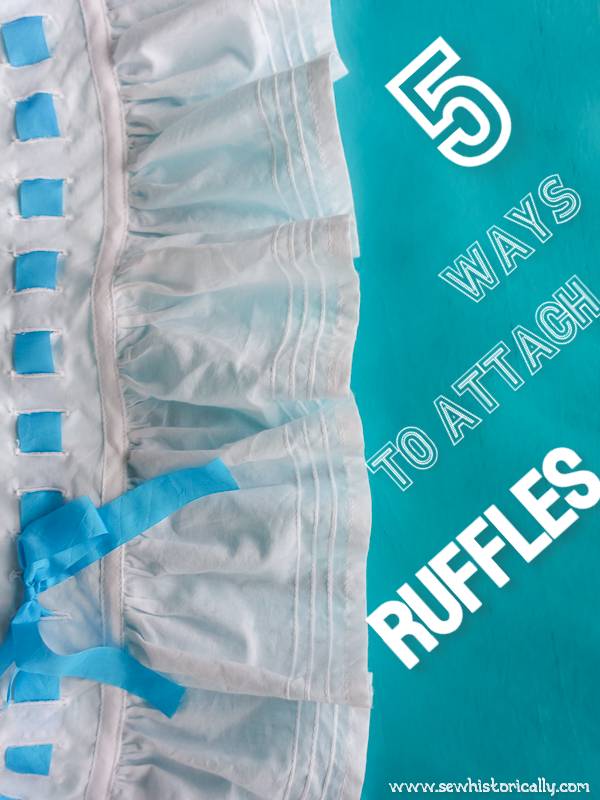
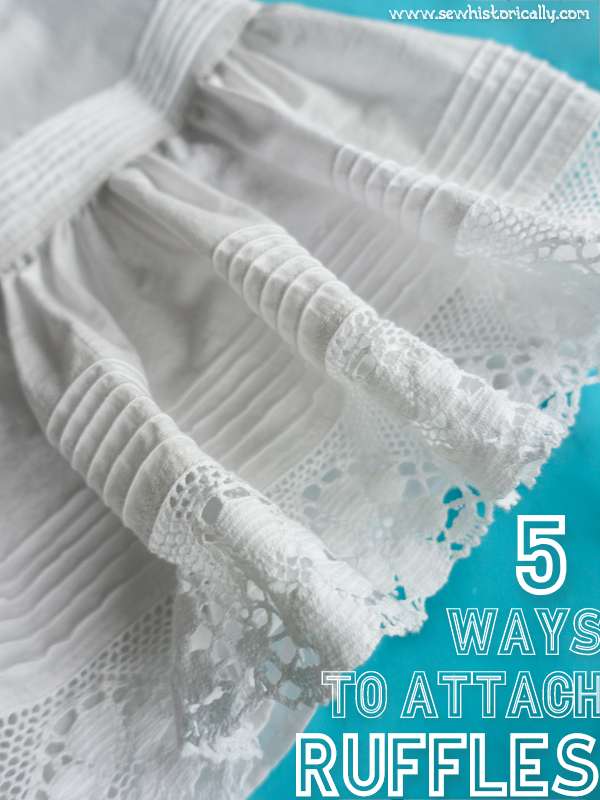
In the Edwardian era, there were 5 ways to attach ruffles: with a receiving tuck, flat felled seam, finishing braid, French seam or whipped gathers. The first four can be sewn on a sewing machine, while the last one is sewn by hand. All these techniques have in common that the right and wrong side of your skirt looks tidy: there are no raw edges on the wrong side and the skirt is also much more durable than if you‘d use zigzagged or serged seams to attach ruffles.
The following 5 historical ways to attach ruffles can be used to attach ruffles cut on the bias, ruffles cut on the straight grain and circular ruffles. In the Edwardian era, ruffles were used on skirts, dresses and underwear – like chemises, drawers, petticoats, slips and combination suits – but apart from dresses, skirts and lingerie there are so much more options today for what you can use ruffles for: tops, blouses, coats, children‘s dresses, pillows, curtains, rugs etc.
Related: 6 Ways How To Insert Lace
What’s The Best Way To Attach Ruffles?
Whipped gathers are the most delicate way to attach ruffles so it‘s particularly suitable for delicate materials, like Edwardian summer lace dresses. But the other four ways to attach ruffles are faster to make because you can use your sewing machine to attach the ruffles (but if you want, you can also sew them by hand – finishing braid, felled seams and French seams were sometimes still sewn by hand in the 1900s).
Ruffles attached with a receiving tuck as well as with a flat felled seam looks more or less the same from the front (like a felled seam) even though they are made completely differently. For the second way (flat felled seam) you need less of your skirt fabric, whereas you need double the amount for the first way (receiving tuck).
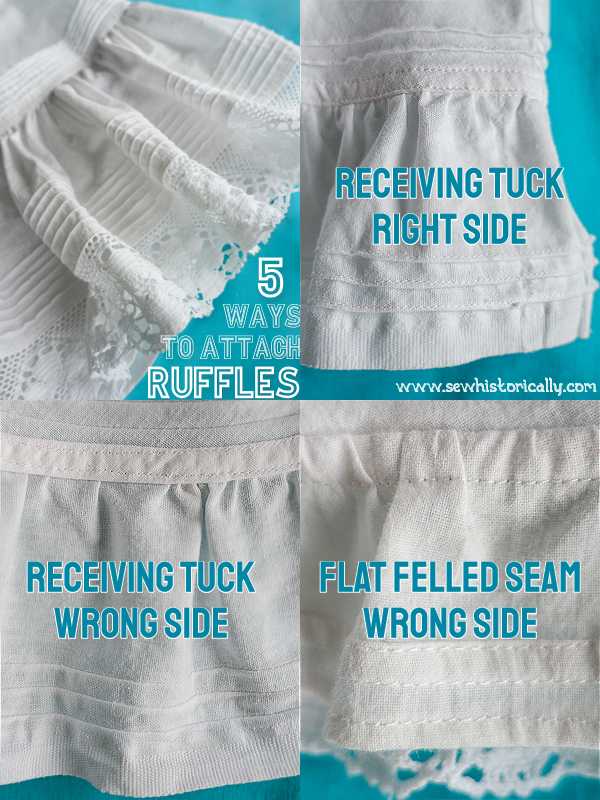
However, the wrong side of ruffles attached with a receiving tuck looks way more tidy (it looks like if you‘d covered the seam with bias binding) than ruffles attached with a flat felled seam. A receiving tuck encases the top of the ruffle so both sides – right and wrong – of your skirt look nice, whereas the gathers of the ruffle are part of the seam if you use a flat felled seam: so the wrong side of a flat felled seam doesn’t look as nice. But you can use a flat felled seam to attach a circular ruffle: Because the ruffle is circular instead of gathered, both fabric sides look tidy! By the way, attaching ruffles with a receiving tuck was the most popular in the Edwardian era.
Related: Edwardian Ruffle Lingerie
If you want to attach ruffles with finishing braid, you need cotton tape or bias binding in the same color and weight of the skirt fabric. Matching tape or bias binding can be different to find but apart from that it’s also a fast way to attach ruffles that doesn’t need more fabric like the flat felled seam.
Attaching ruffles with a French seam is the last of the Edwardian ways to attach ruffles. I like this way to attach ruffle the least: Because you have to iron the seam after each washing so the French seam lies flat and the skirt hangs the right way.
How To Make A Ruffle
1. To make a ruffle, cut long strips on the bias or straight grain of fabric. Then join the strips with flat felled seams until the fabric strip is as long as you need it for your ruffle. Ruffles are usually about 1.5 times the widths of the skirt but skirt ruffles in the early Edwardian era were often longer: about 3 times or even longer!
2. Hem the bottom of the long fabric strip. You can also attach lace or add embroidery.
Related: How To Sew Buttonholes On The Bias
3. Gather the ruffle on two threads using your sewing machine, ruffler attachment or gather the ruffle with running stitches by hand.
4. ‘Divide the ruffle in four parts, marking each part with a pin; gather each part. Divide the skirt in four parts, place it over the end of an ironing board […] pin the quarters of the ruffle to the corresponding quarters of the skirt […] making the bottom […] even with the bottom of the skirt.’ (School Sewing Based On Home Problems, 1916)
5 Ways To Attach Ruffles
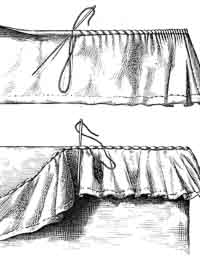
Receiving Tuck
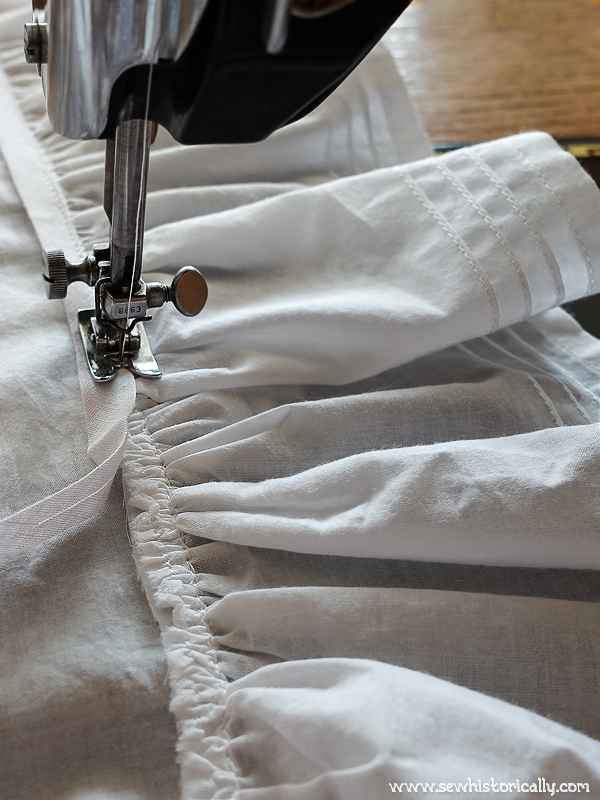
In the Edwardian era, ruffles were usually attached with a receiving tuck. If you use a receiving tuck to sew your gathered ruffles to another piece of fabric both sides – the wrong and the right side – look neat because all raw edges are encased in the fabric. That‘s why you have to add four times your usual seam allowance to the top fabric: For example, if you use 1cm seam allowance, add 1cm seam allowance to the ruffle and 4cm seam allowance to the top fabric.
‘Receiving Tuck: This is one of the most satisfactory finishes for ruffles and flounces, making them seem to be a part of the material itself.’ (Clothing For Women: Selection, Design, Construction, 1916)
1. With wrong sides together, sew the ruffle and fabric together so that the raw edges are on the right side (similar to when you sew a French seam).
2. Press the seam allowance upwards.
3. Fold a tuck right above the raw edges and fold it down so that the raw edges are encased in the fabric. Secure the tuck with two stitching lines (at the top and bottom of the receiving tuck).
Finishing Braid
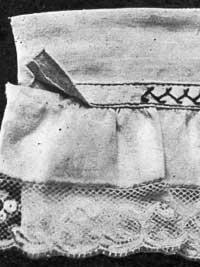
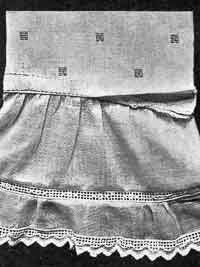
As alternative to the receiving tuck, finishing braid was also often used to cover the raw edges. Finishing braid was usually white or pastel-colored woven cotton tape. But you can also use cotton twill tape or bias binding instead.
‘It is not always necessary to use a tuck. A bias band can be used instead or a beading to cover the raw edges of the ruffle.’ (Clothing And Health. An Elementary Textbook Of Home Making, 1916)
1. Start like you would for the receiving tuck: With wrong sides together, sew the ruffle and fabric together so that the raw edges are on the right side (similar to a French seam).
2. Press the seam allowance upwards.
3. Cover the raw edges with bias binding, straight grain binding or cotton twill tape.
Flat Felled Seam
A flat felled seam was rather used to attached circular ruffles instead of gathered ruffles.
1. Put the wrong sides of the skirt and ruffle together. Make sure you have a single seam allowance on the ruffle and a double seam allowance on the skirt. Sew the ruffle and fabric together so that the raw edges are on the right side.
2. Press the seam allowances downwards.
3. Fold the double seam allowance of the skirt inwards and over the raw edges. Then stitch the fabric fold down.
French Seam
Attaching a ruffle with a French seam is like an ordinary French seam except that one of the fabric piece is the gathered ruffle.
1. With wrong sides together, sew the ruffle and fabric together so that the raw edges are on the right side.
2. Press the seam open, then press so that the right sides of the fabric and ruffle are together.
3. Sew the seam again so that the raw edges are encased in the fabric.
Whipped Gathers
Whipped gathers are the nicest way to attach ruffles but it also takes the longest because you have to attach the ruffles by hand.
‘Whipping is forming gathers by overcasting a rolled edge of fine material, and drawing up the thread.’ (School Needlework. A Course of Study in Sewing designed for use in Schools, 1893) ‘A rolled hem is for fine goods, and is the narrowest that is made.’ (Hand Sewing Lessons, 1901)
1. Gather the ruffle with whipping: Roll the raw edges between your fingers and sew overhand stitches over the fabric roll. Then draw the gathering thread tight.
2. Sew the gathered ruffle to the fabric either with overhand stitches or running stitches. You can also use your sewing machine to attach the gathered ruffle.
Please Pin It!
just the directions I was looking for
Thank you! 🙂 Glad you found it helpful!
Thank you for this. I am restoring antique dolls, and want their garments correct to their era.
My great grandmother was so elated when she added a strip of contrasting fabric to her skirt, as decoration for her 1800’s wedding.
My maternal side are seamstresses, very pleased to have found you. Thank you!!
Thanks for stopping by, Linda! Glad you like the post! 🙂