In this tutorial I’ll show you how to make your own hat lining. Here I sew a lining for my 1920s black wool cloche hat.
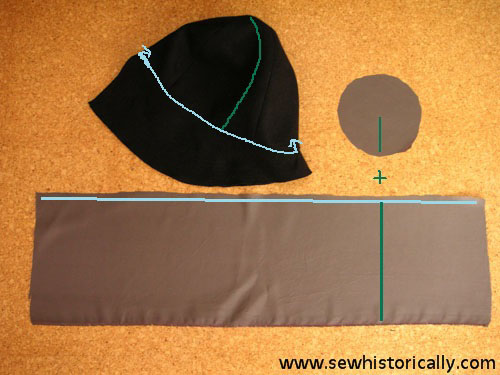
Cut a circle as big or as small as you want. Then cut a rectangle, as long as the hat circumference (the turquoise line), and as wide as the hat height minus the radius of the circle (the teal line). Don’t forget to add seam allowances round both fabric pieces.

Fold the rectangle in half and sew the short sides together. Gather one side of the rectangle so that it has the circumference of the fabric circle. Then pin the gathered edge to the fabric circle. And sew the fabric circle and rectangle together.
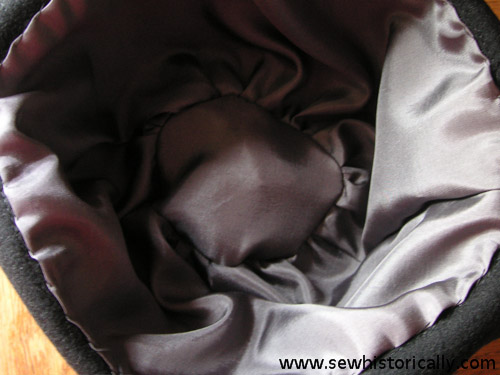
Place the lining so inside the hat that the raw edges are hidden. Pin the lining in place. And sew the hat lining in place with slanting stitches which don’t go through to the outside of the hat. This is the cloche hat with the finished lining. Here you’ll see the hat lining of an antique 1920s wool cloche hat and another 1920s hat lining.