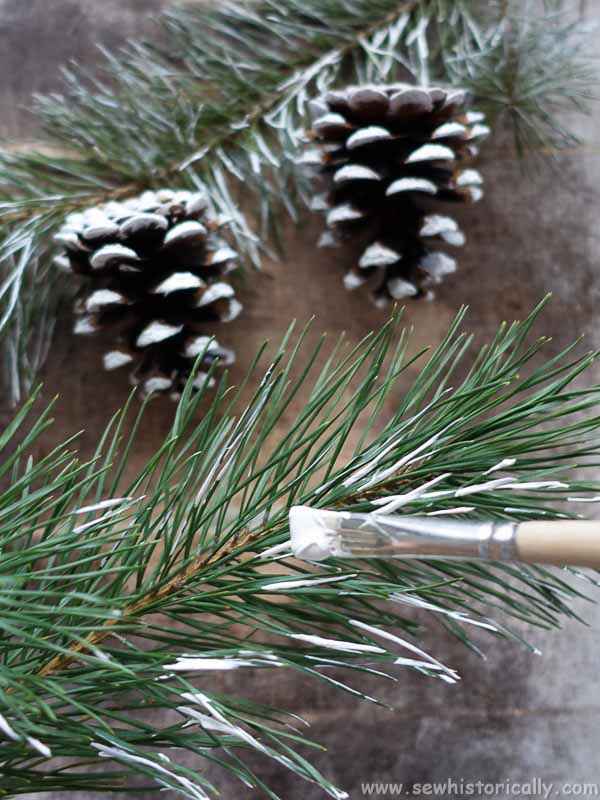
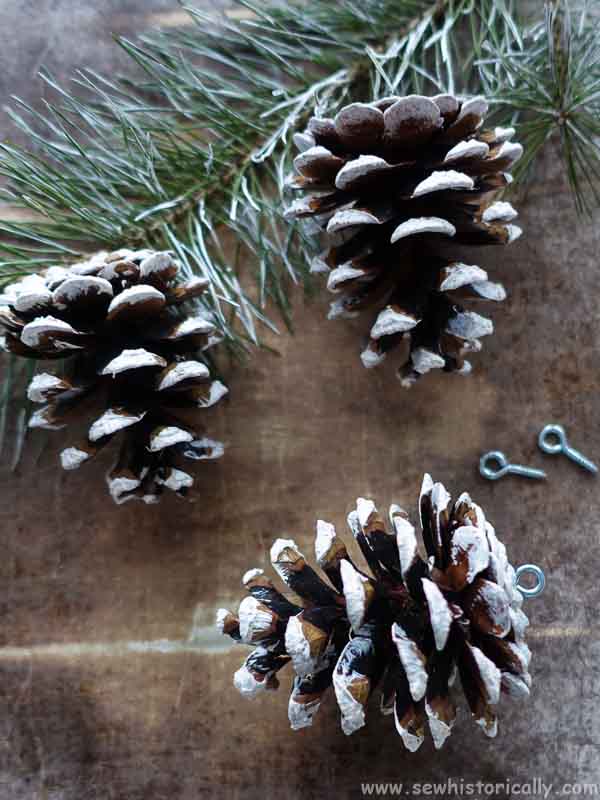
Snow-covered pine cones are easy and cheap to make at home. All you need for these snow pine cones are white acrylic paint and pine cones. DIY snow covered pine cones look great as natural Christmas tree ornaments!
Three years ago, I’ve already made eco-friendly snow-covered pine cones with salt and DIY wheatpaste. I love how they turned out but these snow-covered pine cones are even easier and quicker to make than the eco-friendly version! It takes just one or two minutes to paint one pine cone.
Related: DIY Eco-Friendly Snow Pine Cones
And you don’t have to limit yourself to only paint pine cones. You can also make snow-covered branches! Pine branches look especially cute. And there’s another advantage of pine branches: Unlike spruce branches, pine branches never loose their needles even when they are dried! So just like snow-covered pine cones, you can keep snow-covered pine branches for years.
How To Make Snow Covered Pine Cones
You’ll Need:
- pine cones
- white acrylic paint
- eyelet hooks
- ribbon
- optional: salt
Collect Pine Cones
Collect pine cones. It’s best to collect pine cones in late spring or early summer when they are freshly fallen from the tree.
Then let the pine cones dry outside in the sun or at room temperature. By the way, there’s no need to bake or bleach pine cones, like some other tutorials recommend, because insects leave on their own while the pine cones are drying.
Paint Pine Cones
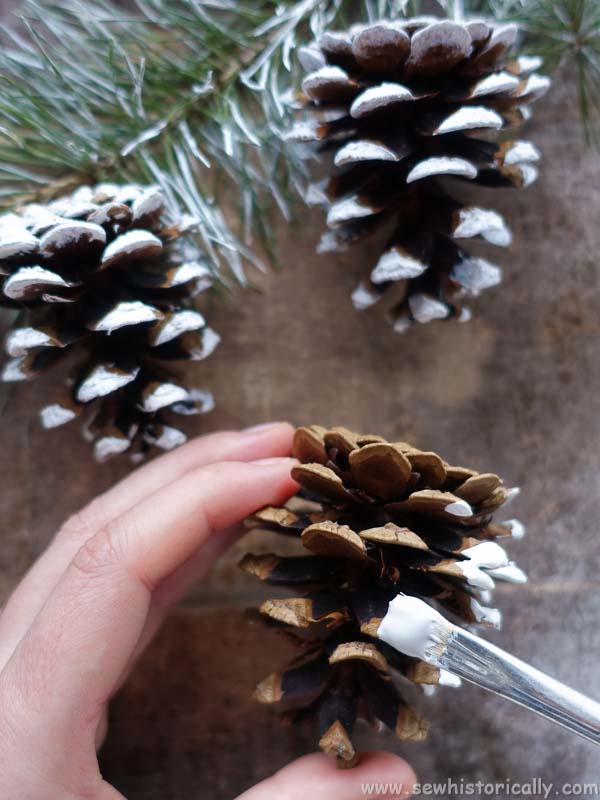
Using a brush, paint the tips of the pine cones with white acrylic paint. Then let them dry for one or two days.
Optional: Add Salt
For extra sparkle, you can sprinkle salt over the snowy pine cones while the paint is still wet.
Add Eyelet Hooks & Ribbon
Screw the eyelet hooks into the snow-covered pine cones. Thread ribbon through the eyelets and the DIY snowy pine cones are ready to use as natural Christmas decoration.
More Easy DIY Natural Christmas Ornaments
Please Pin It!
