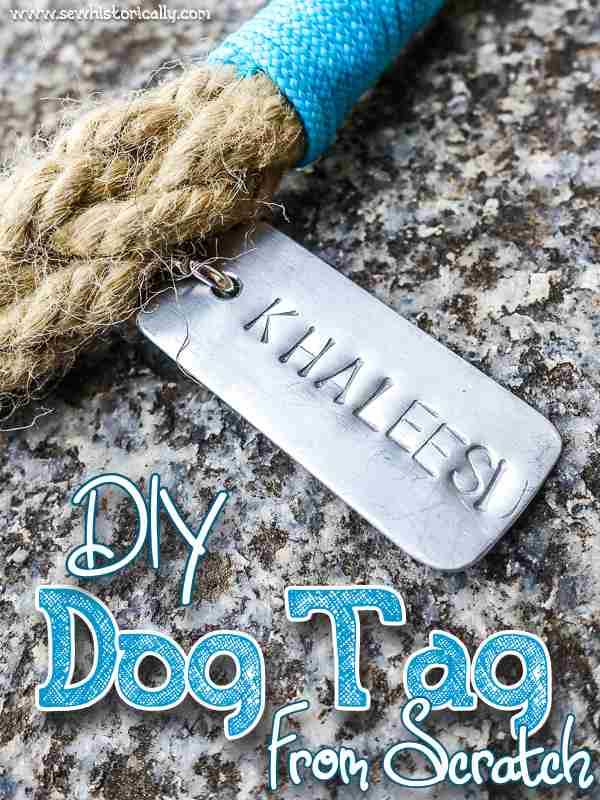
Make your own metal pet tag with sheet metal from scratch!

I like to use sheet metal to make my own jewelry and hair accessories. So I thought why not make a DIY metal tag from scratch for my German shepherd dog Khaleesi!
A DIY metal dog tag is easy and quick to make even if you’ve never worked with sheet metal before! For my metal dog tag I used an aluminum sheet but you can use other sheet metal as well like a brass sheet or copper sheet.
You can make a DIY metal pet tag for your dog or your cat. Or you can even make it for yourself and make your own dog tag necklace!
DIY Metal Dog Tag From Scratch
You’ll Need:
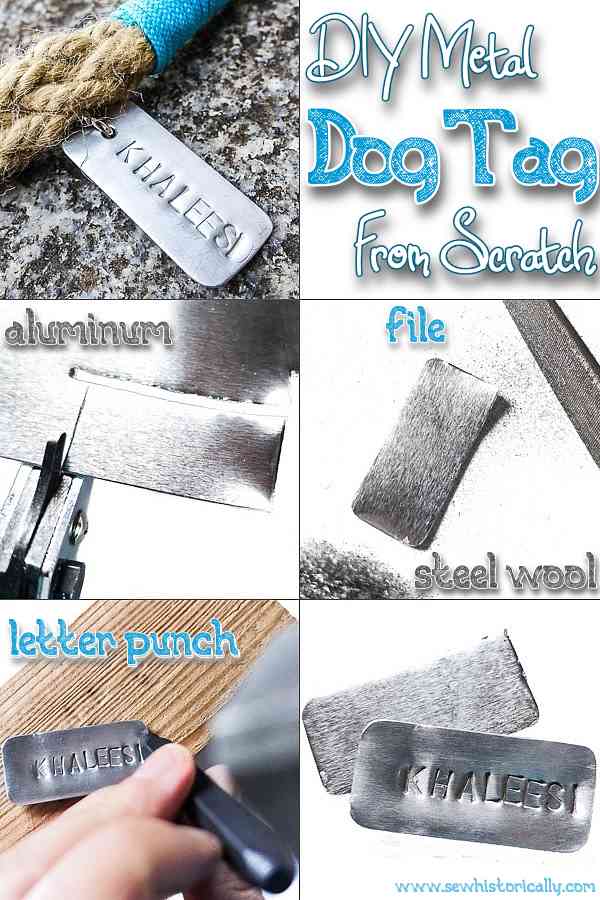
- aluminum sheet (20 gauge/ 0.8mm)
- nibbler
- file
- steel wool
- letter punch set
- hammer
Make A Pattern
Decide how big you want your metal pet tag and make a pattern out of paper. Make the DIY pet tag bigger for dogs and smaller for cats.
Cut Out The DIY Metal Dog Tag
Using the paper pattern and the nibbler, cut out the DIY metal dog tag out of the aluminum sheet.

Smooth The Edges
Round the corners of the metal dog tag with a file. Then smooth all edges with steel wool.
Stamp The Name
Now you can add the name of your pet. For this step you’ll need a metal letter punch set, a hammer and a piece of scrap wood. Put a piece of scrap wood under the metal dog tag and stamp the name. I decided not to line up the letters but you can use masking tape as a guide if you want.
Drill A Hole
Drill a hole in the DIY metal dog tag. Then wash and dry it. And your DIY metal dog tag from scratch is finished!
Please Pin It!