These DIY felt pine cones are made without glue! All you need for the DIY felt pine cones is felt and a piece of thread.
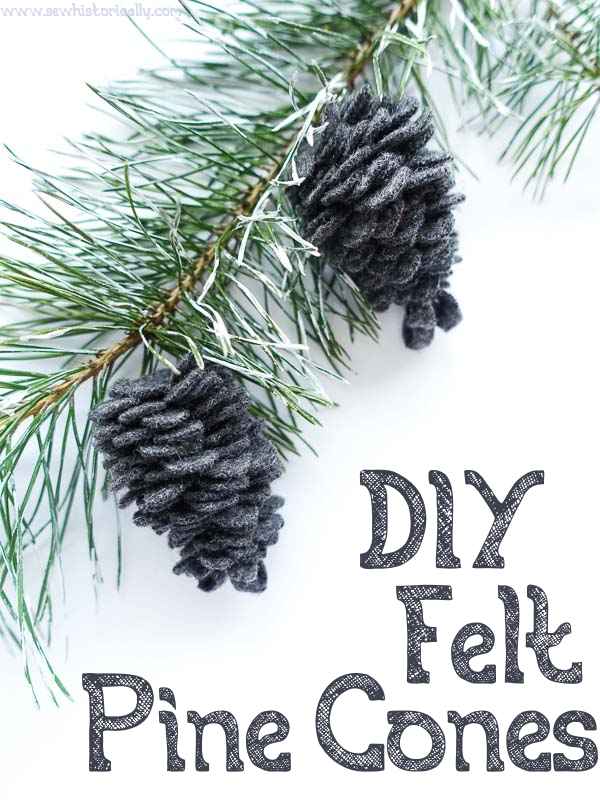
DIY felt pine cones are a fun and easy last-minute Christmas craft! While felt pine cones are often made with glue and a foam core, these DIY felt pine cones are eco-friendly made without glue! But they are just as easy – or even easier – to make than glued pine cones. Additionally, these felt pine cones are even all-natural Christmas ornaments if you use wool felt like I did. You could even compost them after Christmas time but they are much too pretty for that! 😀
Related: DIY Eco-Friendly Snow Pine Cones
Scrap Busting Project
Diy felt pine cone are a great scrap busting project because you can use leftover small pieces of felt or wool fabric. For these natural felt ornaments, I used gray wool felt (broadcloth fabric). The gray wool felt was leftover from my handmade Victorian paletot coat.
Related: DIY Felt Heart Ornaments – Tutorial
I’ve already made felt Christmas ornaments and an all-natural wool bone dog toy for my German shepherd Khaleesi. But I still had some pieces leftover. And I didn’t want to throw away the wool scraps because wool fabric is so expensive and I try to be sustainable. So these felt pine cones were perfect to use the small scraps of wool felt.
How To Make DIY Felt Pine Cones
You’ll Need:
- wool felt
- cotton sewing thread
- optional: string or ribbon
- needle
- strong scissors
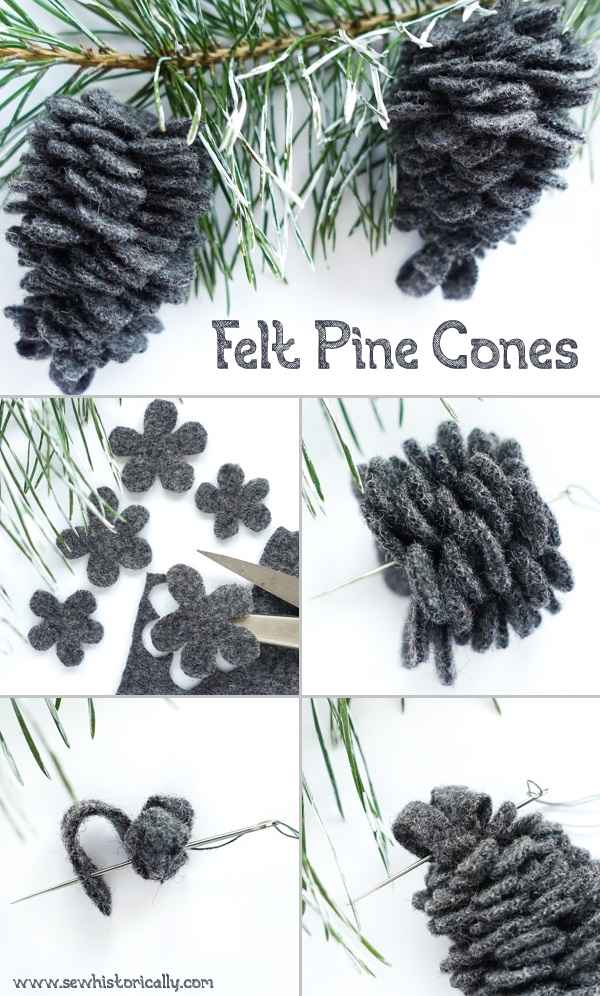
Cut Out Felt Pieces
For the scales of the pine cones, cut the felt into flower-shaped pieces with five or more petals: larger flowers for the middle and smaller flowers for the bottom and top of the felt pine cones. You can either cut out the flower shapes freehand, or use a flower-shaped cookie cutter as template, or draw a simple flower on a piece of paper and use this cut-out paper flower as pattern.
You could use just one color or combine two colors to make DIY pinecone ornaments. By the way, for a natural look, the flower-shaped pieces don’t have to be perfectly symmetrical. And as you probably know, felt doesn’t fray so there’s no need to finish the raw edges.
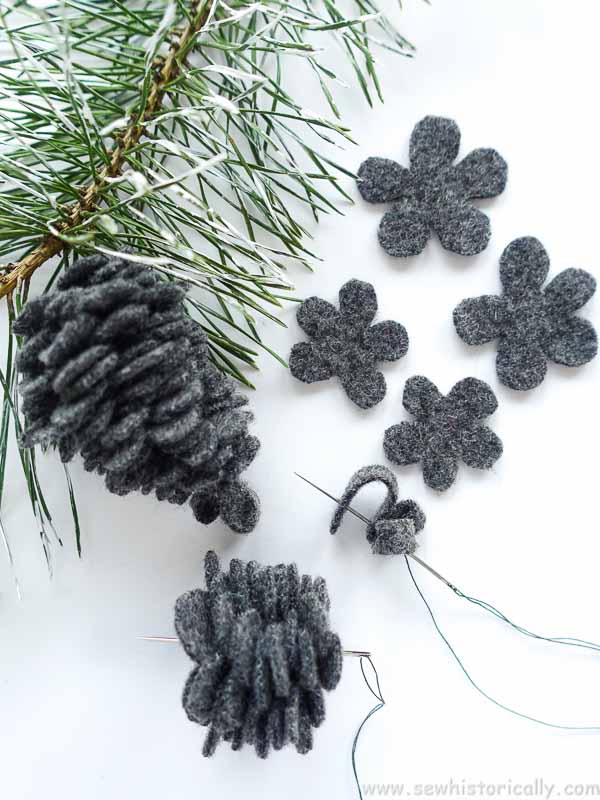
You need about 25 flower-shaped felt pieces for one pine cone, depending on how big you want to make your DIY felt pine cone ornament. I used a 8 by 8 inches (20x20cm) piece of felt for one of these small felt pine cones. However, you may need a larger piece of felt if you want to make larger pine cones.
To speed up the process, you can try cutting more than one flower-shaped piece at a time. Depending on your scissors and the thickness of your felt, you can cut about three or four layers of felt at once. But you usually have to trim the edges of the felt flowers afterwards.
Assemble The DIY Felt Pine Cones
Now stack the flower-shaped pieces on top of each other so that the petals alternate.
Thread a needle with cotton sewing thread. And sew the flower-shaped pieces together: Pierce through the center of each felt flower and thread them onto the thread. Secure the sewing thread with five or six back stitches. Then cut the thread.
Make The Tip Of The Pine Cones
Cut a narrow strip of felt for the tip of the pine cone. Form three loops with the felt strip. Then sew this onto the already assembled felt pine cone.
Add A Ribbon
If you want to hang the felt pine cones on your Christmas tree, add a piece of string or ribbon.
Please Pin It!